Measure the finished opening in three places for width and three places for height, then record the smallest value from each set. Those two figures, both in millimetres, are what your supplier needs to manufacture a security door that fits without forcing or shimming. Measuring for security doors correctly before you order avoids costly remakes and delays, and it can be done efficiently with the right tools.
Quick measuring checklist:
- Measure width at the top, middle, and bottom of the opening; record the shortest
- Measure height on the left side, centre, and right side; record the shortest
- Measure the frame depth (reveal) and any rebate or threshold lip
- Check the opening is plumb and square using a spirit level and diagonal tape check
- Note swing direction, handle height, and any obstructions (architrave, flyscreen, threshold)
- Photograph every measurement with the tape still in shot
Pro Tip: Always photograph each measurement with the tape clearly visible and note whether you measured inside the jamb or from the face of the architrave. That single habit cuts supplier back-and-forth in half.
Key takeaways
Accurate security door measurements come down to three widths, three heights, a reveal depth, and a diagonal check — all recorded in millimetres and supported by photos.
| Point | Details |
|---|---|
| Measure in three places | Take width at top, middle, and bottom; height on left, centre, and right; always use the shortest figure. |
| Record reveal and threshold | Note frame depth, threshold lip height, and architrave projection — suppliers need these to confirm fit. |
| Check square with diagonals | If the two diagonal measurements differ by more than about 6 mm, packers or a custom frame will be needed. |
| Allow for the packing zone | Suppliers deduct a small amount (around 5 mm per side) from your finished opening; confirm the exact figure before ordering. |
| Easterndoors professional measure | Easterndoors covers all dimensions, reveal profiles, and hardware on site, feeding directly into a custom manufacture and installation order. |
Table of Contents
- What tools do you need before you start measuring?
- How do you measure a security door opening step by step?
- How do you check if the opening is level, square, and clear of obstructions?
- What tolerances and supplier notes should you record?
- Do Australian standard sizes fit your opening?
- What are the most common measuring mistakes and how do you fix them?
- When should you book a professional measure instead of doing it yourself?
- What installers wish you had done before they arrived
- Easterndoors: professional measure, custom manufacture, and installation
- Sources
What tools do you need before you start measuring?
Arriving at the door without the right equipment means a second trip. Gather everything below before you begin.
Essential tools:
- Steel tape measure graduated in millimetres (a 5 m tape is ideal)
- Spirit level, at least 600 mm long
- Long straightedge or a second tape for diagonal checks
- Step ladder for tall openings
- Pencil and masking tape (to mark measurement points on the jamb temporarily)
- Smartphone or camera for photos
Before you measure, run through a few quick checks. Confirm the ladder is stable and the area around the door is clear. Note the finished floor surface: tiles sit higher than bare concrete, and carpet compresses under load, both of which affect the threshold gap. Check the condition of the architrave and trim; damaged or swollen timber can give a false reading. Look at where the existing handle sits and whether a flyscreen frame is already fitted, because both can restrict the reveal depth your new door needs.
A short safety note: for doorways taller than 2100 mm or where the threshold is uneven, ask someone to steady the ladder while you measure. Rushing a height measurement on an unstable step is the fastest way to get a wrong number.
How do you measure a security door opening step by step?
The first decision is which method applies to your situation.
Option A: measuring an existing door (make-size). If a door is already hanging, measure the door leaf itself (width and height of the slab) rather than the opening. This is the “make-size.” Suppliers can work from it, but tell them explicitly that you are providing a make-size, not a finished opening measurement.
Option B: measuring the finished opening. For a bare opening or a replacement where the old door has been removed, measure the jamb-to-jamb width and the threshold-to-head width. This is the more common method and what most suppliers, including Easterndoors, prefer.
Measuring width
- Hook the tape on the inside face of the hinge jamb (the vertical timber or aluminium section).
- Measure across to the inside face of the strike jamb at three heights: near the top, at mid-height, and near the bottom.
- Write down all three figures. The smallest measurement is your finished opening width.
Measuring height
- Place the tape on the finished floor surface (or the top of the threshold if one is fitted).
- Measure up to the underside of the head jamb on the left side, at the centre, and on the right side.
- Record all three. Again, use the shortest figure.
Measuring depth, reveal, and rebate
The reveal is the thickness of the wall or frame between the outside face and the inside face of the door jamb. Measure it with the tape held flat across the frame. Also measure the height of any threshold lip and the projection of the architrave beyond the jamb face, because both affect how the security door frame sits and whether packers are needed. Record each figure separately in millimetres.
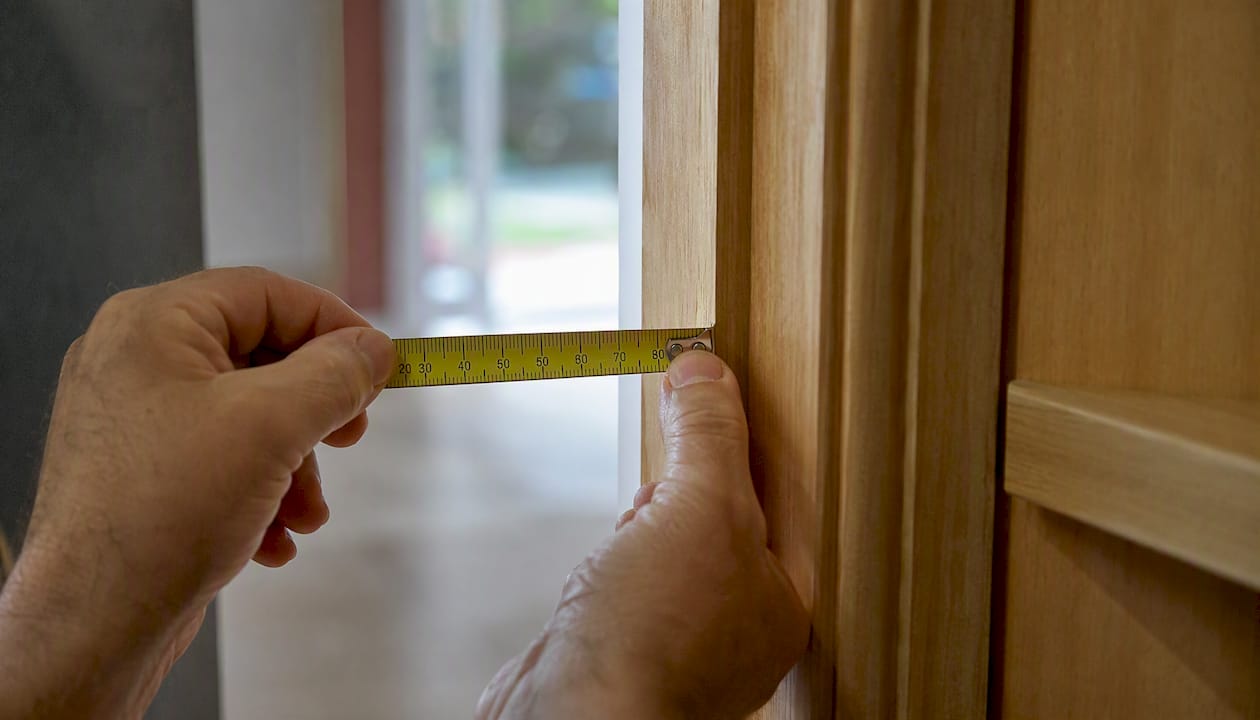
A product measuring guide from a major supplier shows that mounting surface minimums and deduction examples are tied directly to these reveal and rebate figures, so recording them accurately is as important as the width and height.
Pro Tip: A how-to video from The Home Depot demonstrates measuring top, middle, and bottom on a real door and reinforces why photographing each measurement with the tape in shot reduces errors when you contact your supplier.
How do you check if the opening is level, square, and clear of obstructions?
An opening that looks square rarely is. A door frame that is out of plumb by even 5–10 mm will cause a security door to bind, gap, or fail to latch correctly.
Plumb and level checks:
- Hold the spirit level against each jamb vertically; note any deviation in mm
- Hold the spirit level across the head jamb horizontally
- Measure both diagonals of the opening (top-left corner to bottom-right, then top-right to bottom-left); if the two diagonal measurements differ by more than about 6 mm, the opening is out of square and will need packers or a custom frame
Common obstructions to check for:
- Architrave thickness projecting beyond the jamb face (measure how far it protrudes)
- Threshold lip or raised tile edge at the base
- Existing flyscreen frame sitting in the reveal
- External light fittings or letterboxes mounted close to the frame
- Overhead obstructions such as a low soffit or pergola beam
Pro Tip: Handle interference is easy to miss. Hold a straightedge across the face of the opening and check whether the existing door handle or deadbolt protrudes past the reveal line. If it does, you have three practical options: specify an opposite-swing door, ask for a higher handle position, or fit a build-out packer to bring the security door frame forward.
What tolerances and supplier notes should you record?
Suppliers do not fit a door to the exact finished opening size. They manufacture to a “make-size” that is slightly smaller than the opening, leaving a small packing zone around the frame so the installer can adjust for any plumb or level variation. Practical guidance for bespoke steel and metal doors suggests allowing around 5 mm as a packing zone on each side so the frame sits without stress.
What to send your supplier:
- Finished opening width (shortest of three measurements), in mm
- Finished opening height (shortest of three measurements), in mm
- Reveal/frame depth, in mm
- Threshold height or lip, in mm
- Whether you measured inside the jamb or from the architrave face
- Swing direction (left-hand or right-hand, viewed from outside)
- Handle height from finished floor, in mm
- Photos of each measurement with tape in shot, plus close-ups of any obstructions
Typical supplier deduction note: Most security door suppliers deduct a small amount from your finished opening measurement to arrive at the make-size they manufacture. Always confirm the exact deduction with your supplier before the order is placed, and provide both your raw opening measurement and your photos so they can verify the figure independently.
Example measurement note you can copy when emailing a supplier:
“Finished opening width: 870 mm (shortest of three). Finished opening height: 2030 mm (shortest of three). Reveal depth: 90 mm. Threshold lip: 12 mm. Measured inside jamb. Right-hand swing viewed from outside. Handle height: 1000 mm. Photos attached.”
Easterndoors’ standard size guidance includes fit ranges and notes on when a custom order is required, which is worth cross-checking against your figures before you contact any supplier.
Do Australian standard sizes fit your opening?
Most Australian homes built after the 1980s have door openings sized around a standard family of dimensions. The most common finished opening widths are 820 mm, 870 mm, and 1020 mm, with a standard height of 2040 mm. Standard door size guidance lists these sizes alongside recommended rough opening allowances, giving homeowners a quick reference to check their measurements against.
When standard sizes will not work:
- The finished opening width or height falls outside the standard range (for example, older homes with 760 mm openings or heritage properties with 2100 mm+ heights)
- The diagonal check reveals an out-of-square opening that needs a custom frame profile
- You have a double-door or French door opening that requires a paired leaf or a centre post
- The reveal depth is unusually shallow or deep, requiring a non-standard frame extrusion
- A raised tile threshold creates a non-standard height that a stock door cannot accommodate
Custom doors carry a longer lead time and a higher price than stock sizes, and suppliers will ask for additional measurements: the exact reveal profile, hinge positions, and lock-barrel height. For double security screen doors, the centre post width and any astragal clearance also need to be recorded. The extra detail is worth gathering carefully because a custom remake is far more expensive than a second site visit.
What are the most common measuring mistakes and how do you fix them?
Common mistakes:
- Rounding measurements to the nearest centimetre instead of recording in mm
- Measuring from the face of the architrave rather than the inside face of the jamb
- Forgetting to measure the threshold lip, which reduces the usable height
- Skipping the diagonal check and missing an out-of-square opening
- Not noting swing direction, causing the door to be manufactured on the wrong hand
Quick fixes for fit problems:
- Architrave projecting too far: trim it back or fit a flat packer strip behind the security door frame
- Threshold lip too high: fit a threshold ramp or specify a door with a taller bottom rail
- Slight out-of-square: use frame packers during installation to plumb the security door independently of the rough opening
- Wrong swing ordered: if the door has not been manufactured yet, contact the supplier immediately; after manufacture, a swing change usually requires a new door
Cutting bricks, lowering a concrete threshold, or removing structural timber to force a door to fit are irreversible changes that affect the structural integrity of the opening. If the opening needs that level of modification, book a professional measure before ordering anything. A site visit costs far less than a structural repair.
Avoid the temptation to “round up” a tight measurement. A door ordered 5 mm too wide will not close; one ordered 5 mm too narrow will rattle. Work in millimetres throughout and let the supplier apply their standard deduction.
When should you book a professional measure instead of doing it yourself?
Self-measuring works well for standard openings in good condition. Several situations tip the balance toward a professional site visit.
Book a professional measure when:
- The opening is irregular, out-of-square by more than 10 mm diagonally, or has a non-standard threshold
- The property is a heritage home where the frame profile is unusual or the timber is fragile
- You are fitting a multi-point locking system that requires precise lock-barrel alignment
- The installation is in an apartment with restricted access or strata body corporate requirements
- You are replacing a door that has a custom rebate or an unusual reveal depth you cannot measure confidently
A professional measure from Easterndoors covers the finished opening dimensions, reveal and rebate profile, threshold detail, swing direction, handle position, and any obstruction notes. The installer checks plumb, level, and square on site and photographs the opening. That information feeds directly into the manufacturing order, reducing the risk of a remake. From measure to installation, lead times vary depending on the door type and material, so confirming the timeline at the time of booking is worthwhile. For a detailed look at what the installation process involves, Easterndoors publishes a step-by-step guide on its site.
Doors manufactured to AS 5039-2023, the Australian standard covering knife shear, static load, and general performance requirements for security screens and doors, need to be fitted correctly to perform as tested. An ill-fitting frame compromises the very resistance the standard is designed to certify.
What installers wish you had done before they arrived
The single most useful thing a homeowner can do before a professional site visit is clear the area around the door completely: move pot plants, door mats, shoe racks, and any furniture within a metre of the opening on both sides. Leave the main door unlocked and, if there is a flyscreen already fitted, remove it or at least prop it open so the installer can access the jamb immediately.
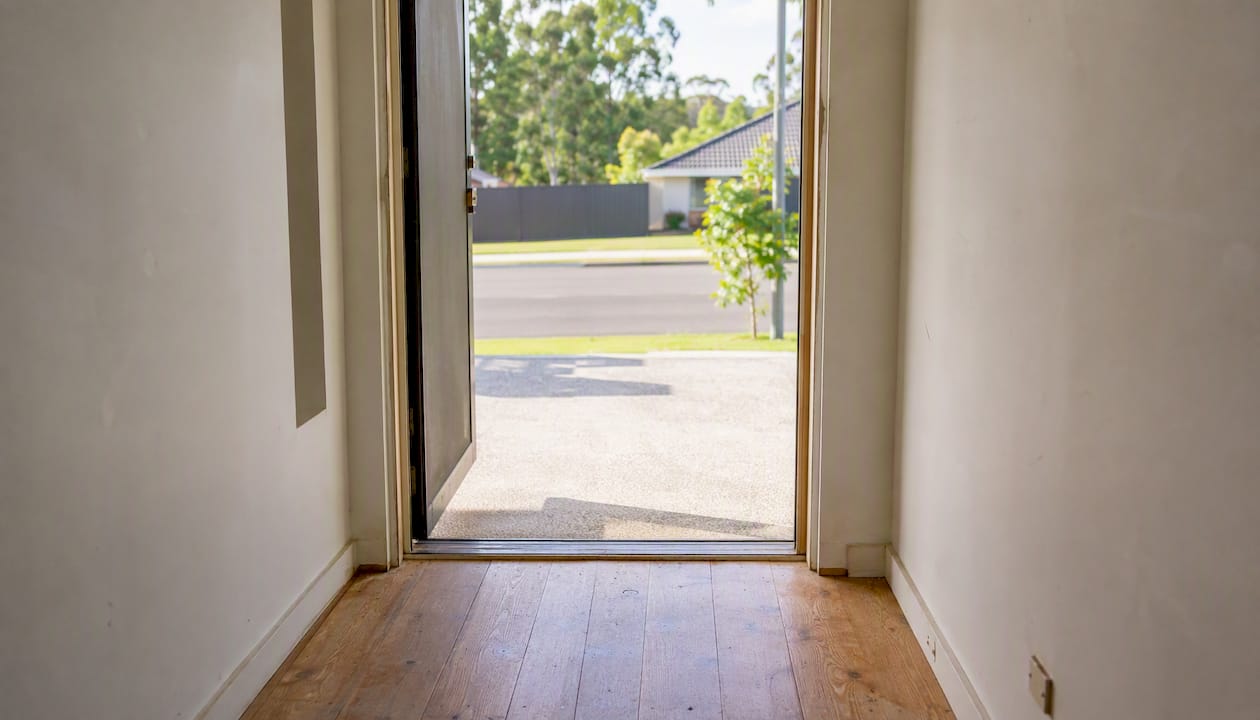
Note any recent settling or movement in the frame. If the door has started sticking or the gap at the top has changed in the past year, mention it when you book. That detail tells the installer to check the diagonal measurement carefully and look for a shifting lintel or subsidence before taking final figures.
Sending rough measurements and photos ahead of the visit lets the installer arrive with the right frame profiles and hardware in the van, which shortens the visit and speeds up the quote. It also means any obvious issues, such as a non-standard reveal depth or a low soffit, can be flagged before anyone drives out.
Easterndoors: professional measure, custom manufacture, and installation
Accurate measurements are only half the picture. Getting a security door that fits, performs to AS 5039-2023, and looks right on your home requires the right manufacturing process behind it.
Easterndoors manufactures custom security doors in aluminium, steel, and stainless steel for residential properties across Melbourne and surrounding areas. Every job starts with a professional measure and consultation, covering all the dimensions, reveal profiles, and hardware details covered in this guide. The manufacturing process is handled in-house, which keeps lead times short and quality consistent. Installation is carried out by Easterndoors’ own team, and every door is backed by a product warranty.
To book a professional measure and quote, or to browse the full door range in aluminium, steel, and stainless steel, contact Easterndoors directly through the website. If you are in the Knox or Scoresby area, the local service page has specific booking details.
Sources
The following sources provide additional detail on Australian door sizes, measuring methods, and the relevant product standard.
Download a measuring worksheet from your supplier and cross-check your figures against their fit ranges before placing any order. If anything does not add up, a professional measure is the lowest-risk next step.